
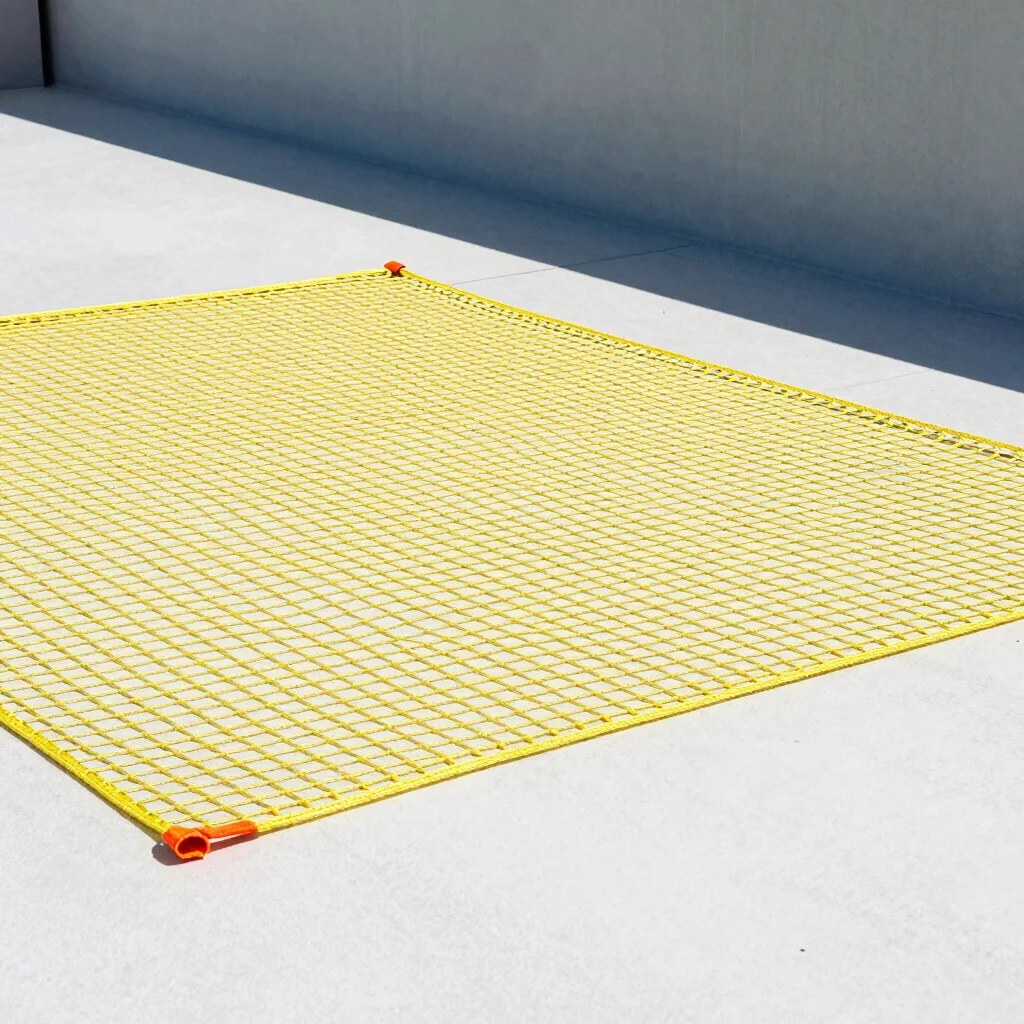
Thinking of installing a bird net yourself to save money? It’s a reasonable question, since the material itself isn’t expensive and plenty of tutorials online make it look simple. But there’s a real gap between buying a roll of netting and getting a tight, gap-free installation that actually keeps pigeons out for years. Here’s an honest look at the risks, tools needed, and when DIY genuinely makes sense.
What DIY Installation Actually Involves
A proper DIY job requires accurately measuring an often irregular space, buying the correct grade of net for that specific location, sourcing the right hooks, eyelets, or frame hardware, safely working at height if the balcony or terrace is above the ground floor, and tensioning the net evenly so it doesn’t sag or leave gaps. Each of these steps has room for error, and small mistakes compound quickly.
The Real Risks of DIY Netting
The most common DIY outcome is a net that looks fine from a distance but has small gaps at the corners or edges, which pigeons can and will find within days. Working at height without proper safety equipment is also a genuine physical risk, particularly for upper-floor balconies and terraces. Beyond safety, incorrect tensioning often leads to sagging within the first monsoon season, since a loose net collects rainwater and stretches out of shape.
Tools and Materials You’d Need for DIY
- Correctly rated net (nylon or UV-stabilized HDPE depending on location)
- Stainless steel hooks, eyelets, or a support frame suited to your railing type
- A drill and appropriate masonry or metal bits
- Measuring tape and a plan for handling irregular corners or pillars
- Ladder or scaffolding rated for the height involved, plus a safety harness for upper floors
When DIY Can Actually Make Sense
For a small, ground-floor window opening with a simple rectangular shape, a careful DIY installation using a pre-cut net kit can work reasonably well, since the risks of height and complex tensioning are minimal. It’s larger balconies, open terraces, and anything above the first floor where professional installation becomes far more worthwhile.
What Professional Installation Adds
An experienced installer brings the right net grade for your specific exposure, proper anchoring hardware matched to your railing or wall type, safety equipment for height work, and the experience to tension a net correctly on the first attempt rather than through trial and error. Most professional installations also come with a workmanship warranty, which a DIY attempt obviously doesn’t have.
Cost Comparison: DIY vs Professional
DIY material costs alone can look attractive, but factoring in tools you may need to buy just for one job, the time spent, and the real possibility of redoing sections that sag or gap, the total cost gap narrows considerably. Professional installation, starting around ₹16 per sq. ft. installed, includes labor, correct hardware, and a warranty, which is difficult to fully replicate with a first-time DIY attempt.
Common DIY Mistakes We’re Called In to Fix
The most frequent issues homeowners bring to us after a DIY attempt are gaps at balcony corners where pigeons squeeze through, loose or missing anchor points that let the net sag within weeks, and using a net grade unsuited to the location, such as basic nylon on a fully exposed terrace. Fixing these issues later often costs more than getting it right the first time would have.
A Balanced Way to Decide
If your space is small, at ground level, and simply shaped, a careful DIY attempt is reasonable. If it’s an upper-floor balcony, a large open terrace, or has an irregular layout with pillars or AC units, the safety and quality gap in favor of professional installation grows significantly. A free measurement visit, arranged through our contact page, can help you decide either way at no cost.
Frequently Asked Questions
Is DIY netting cheaper in the long run?
Not always – factoring in tools, redo work, and the shorter effective lifespan of a poorly tensioned net, professional installation often works out similar or better value over several years.
What’s the biggest safety risk with DIY netting?
Working at height without proper harnesses or scaffolding is the main safety concern, especially for balconies and terraces above the ground floor.
Can I get professional help just for the tricky parts?
Some installers offer partial support, such as supplying correctly cut netting while you handle simple sections yourself, though full professional installation remains the more reliable option for larger spaces.
How do I know if my DIY net has gaps?
Check corners, joints between panels, and areas around pillars or AC units closely – these are the most common places pigeons exploit even a small gap.
Does DIY installation void any warranty?
Since DIY installations aren’t covered by a professional workmanship warranty to begin with, there’s nothing to void, but it also means no recourse if the net fails early.
Final Thoughts
DIY bird netting isn’t impossible, but it comes with real risks around safety, gaps, and premature sagging that most first-time installers underestimate. For anything beyond a small ground-floor window, professional installation tends to be the safer and more cost-effective choice over the net’s full lifespan. If you’re weighing your options across Zirakpur, Mohali, Dhakoli, or Panchkula, a free site visit is a low-effort way to compare a professional quote against the DIY route before deciding.
What a Professional Site Visit Looks Like
Before comparing costs, it helps to know what you’re actually getting from a professional visit. Typically this includes an assessment of your railing or parapet type, a recommendation on net grade suited to your specific sun and wind exposure, an exact measurement rather than a rough estimate, and a written quote covering both material and labor. This upfront clarity is one of the harder things to replicate with a DIY approach, where costs and outcomes are often only clear after the job is already done.
How Long a DIY Net Typically Lasts vs a Professional One
A well-installed professional net using correctly rated material typically lasts five to seven years with minimal upkeep. DIY installations vary far more widely – some hold up reasonably well for a year or two before sagging or gapping becomes noticeable, particularly on larger or more exposed spaces where tensioning is harder to get right without experience. This difference in effective lifespan is worth weighing against any upfront savings from doing it yourself.
Insurance and Liability Considerations
Working at height, even on a home balcony, carries some risk of injury, and DIY attempts don’t come with any liability coverage the way a professional service typically does. This is a less obvious cost of DIY installation, but worth factoring in alongside the more visible material and tool expenses.
A Middle Ground: Supervised or Guided Installation
For homeowners who want to be hands-on but are wary of doing everything alone, some installers offer guidance on correct net selection and cutting, leaving the final fixing to the homeowner under advice. This isn’t common, but it’s worth asking about if a fully DIY or fully professional approach doesn’t feel like the right fit for your situation.
Can I reuse old netting material for a new DIY attempt?
Reusing netting that’s already been stretched or exposed to sun for a year or more is generally not advisable, since its strength and UV resistance will have already degraded.
What happens if my DIY net fails within a few months?
Without a workmanship warranty, you’d typically need to either attempt a fix yourself or bring in a professional to redo the affected sections, which can end up costing more than professional installation from the start.
Making the Final Call
If you’re still on the fence, a useful exercise is to price out the material, tools, and your own time for a DIY attempt, then compare that honestly against a professional quote for the same space. In many cases the gap is smaller than expected once tools and potential redo work are factored in, which is why most homeowners who’ve tried both end up choosing professional installation for anything beyond the simplest window opening.
Either way, getting a free professional quote first costs nothing and gives you a real number to compare against, rather than guessing at DIY costs in advance.
Whatever you decide, prioritizing safety over saving a small amount on labor is always the right call when working at height.
A quick call or message describing your space is usually all it takes to get that comparison started.

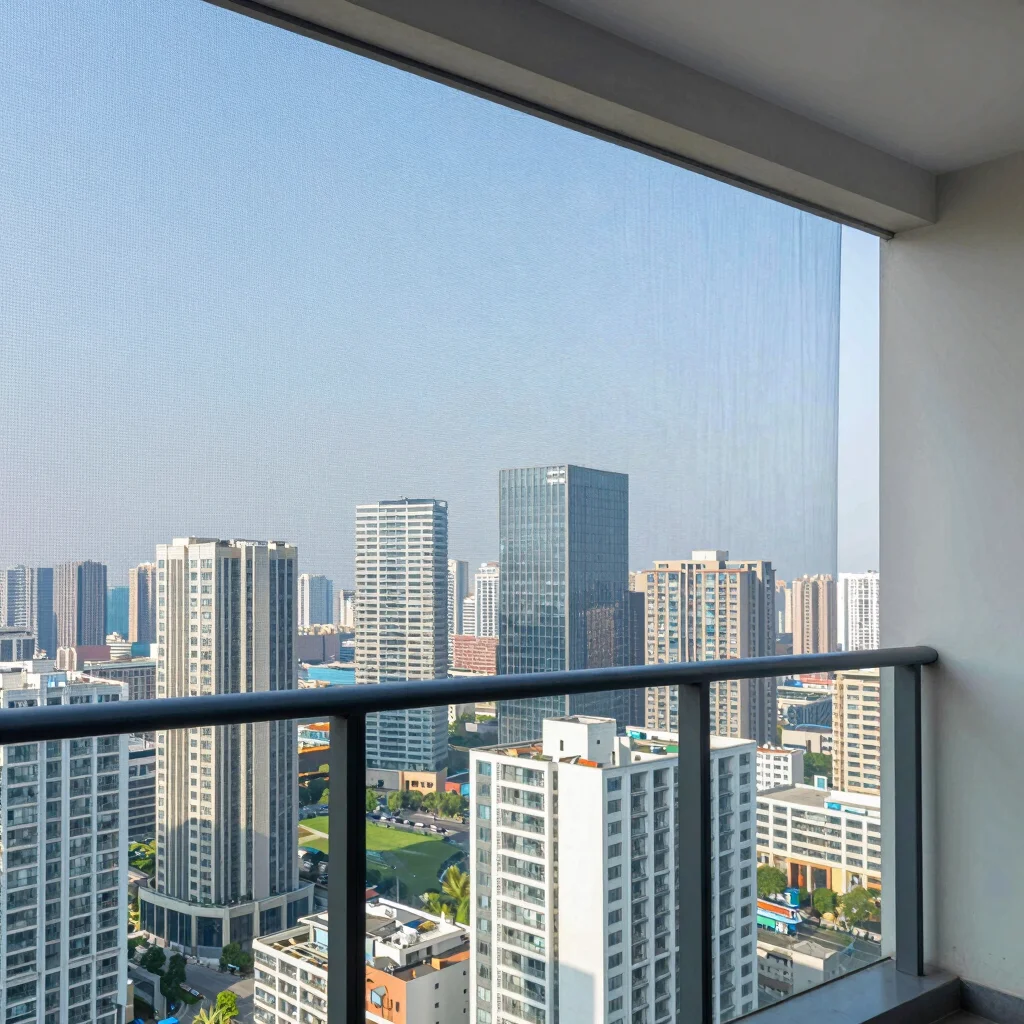
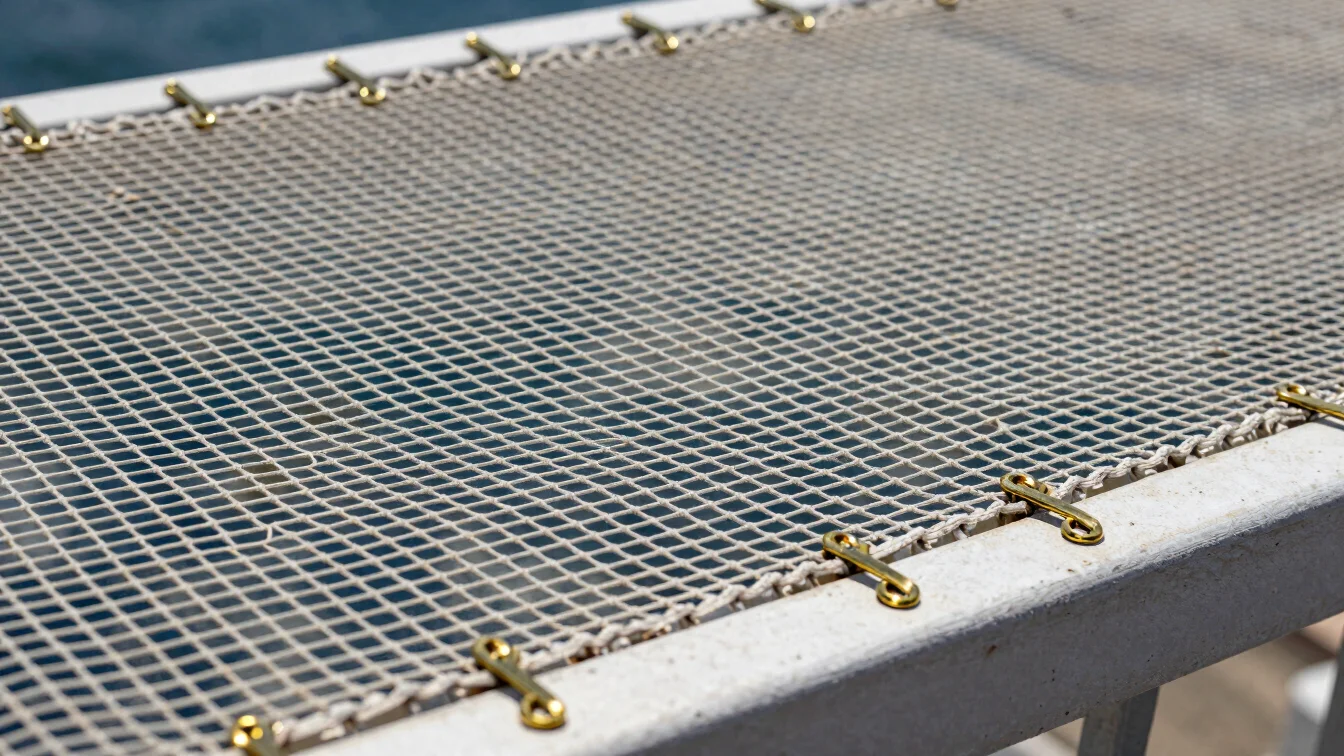
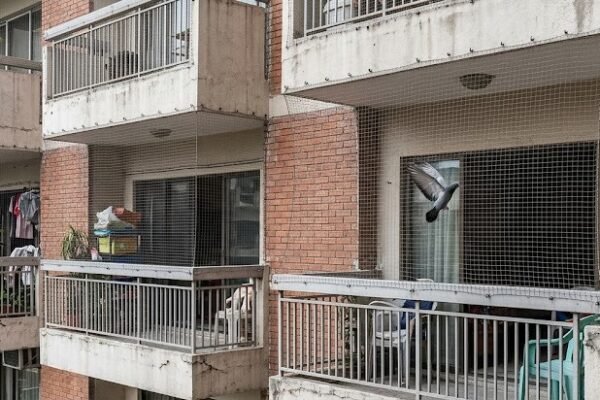
[…] currently dealing with an active nesting problem and want to understand your options, our DIY vs professional installation guide and pricing guide are good next steps to read alongside this […]